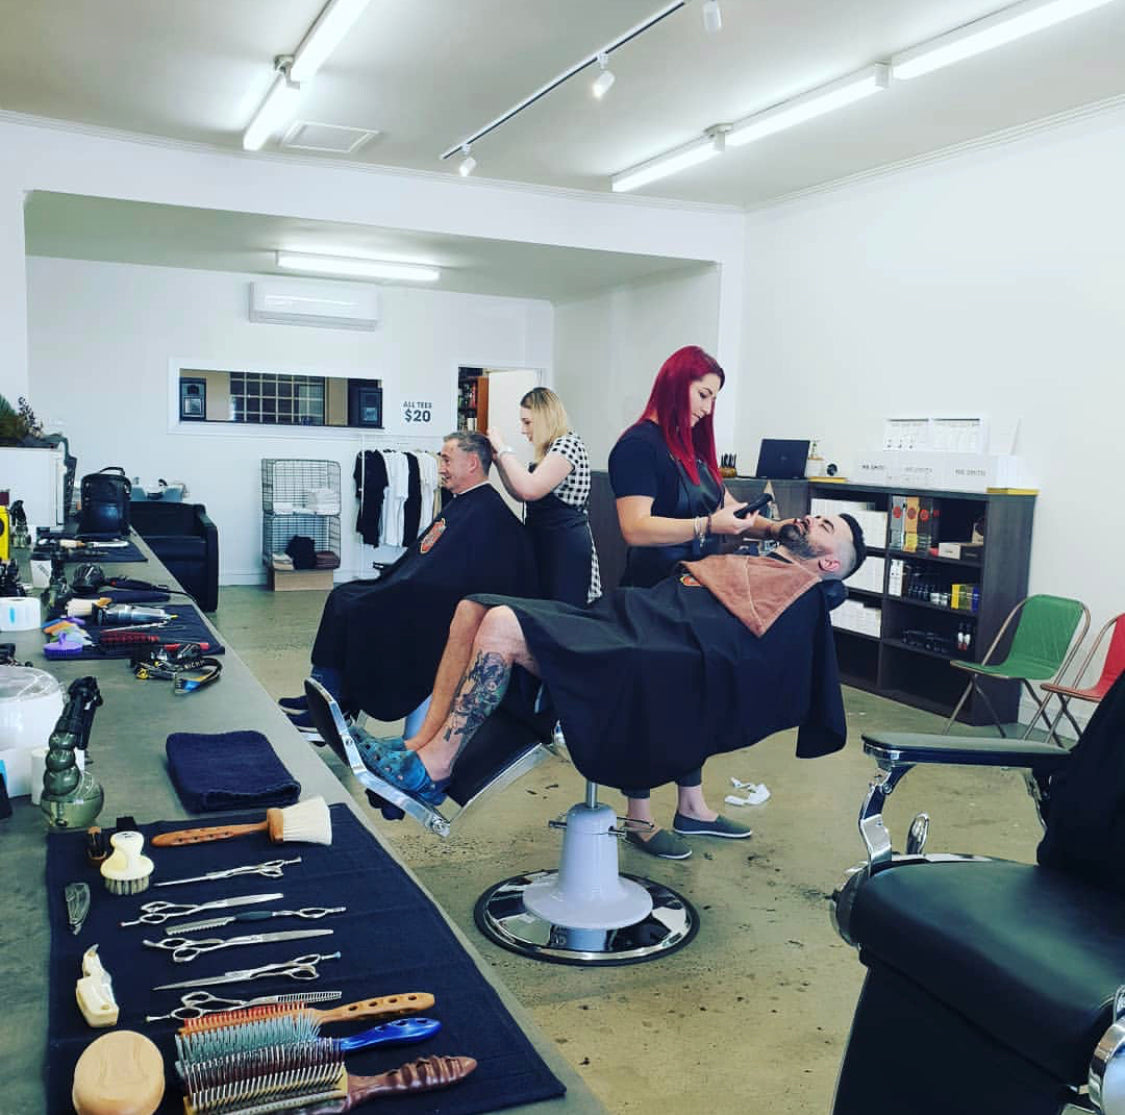


Today we’ve got a very special edition post for you. If you’ve got a beard or you’re a barber this is going to show you all about facial hair styling. We are joined by Franco from the Award Winning Barber Club in Melbourne. I was just down there a couple of weeks ago, and in a ten minute period while Franco was out to lunch, we had five different guys coming in asking just for him. He is one of the most in-demand barbers in Melbourne and he has one of the most epic beards you have ever seen. Today Franco will be working on our model Karl. Karl comes in looking a little bit like a bank robber and he leaves looking like he owns the bank.
You'll see in the before picture Karl looks a little bit dishevelled, like a deer in the headlights, and at the end his beard looks amazing - and look at his eyes, you'll see a huge difference in his eyes between the before and after. That level of confidence that facial hair can give you when it’s on point is quite remarkable. In this video Franco is going to show you how he prepares a beard for styling, how to carve the shape, blend it, set the beard lines and how to style it at the end.
So let's crack into the video!
Today we started with Karl’s hair, taking some of the weight out on the edges, tapering it in to match the sides of the beard in an attempt to achieve a sharper look overall. The beard line has been taken a little bit lower so we will taper down the sides and blend into the beard so that it is nice and natural looking. We also must clean up the lines at the top, and take some more weight out from the bottom of the beard in order to clean up the necklines. We should also pull the moustache to the side a little bit to achieve the flow into the beard a little bit better.
We begin with the hair, taking out the weight and tidying up the look a little bit, we use a comb and clippers to achieve a natural tapering look - as seen in the video Franco is using the comb to collect hair and then dragging it through and cutting off the ends of the hair. Franco goes closer to the skin around the ears, in order to create a distinct end line of the beard and continue the similar neat line into the hairline. Changing clippers with scissors Franco demonstrates the creation of a distinct fade look, cutting hair closer to the crown of the head shorter than that to the nape of the neck.
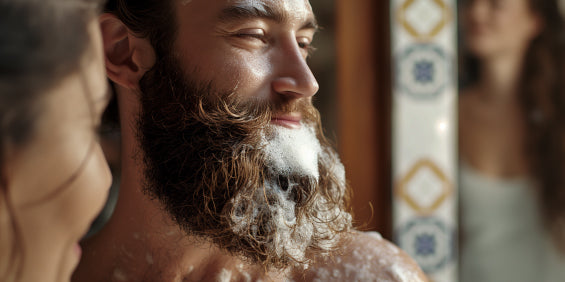
Using a couple of squirts of the King of Wood 2 in 1 Beard Shampoo and Conditioner we massage it into the dry beard, which really helps to soften the beard up as well as allowing Franco to add a little bit of heat to the beard to straighten it out - this helps to get a true idea of what the beard is going to look like. Using a hair drier and small brush extra heat is added to continue to straighten the beard. Following these processes you can immediately see that there is more shape to the beard. Cutting away at the beard without doing this is less than ideal as when you return home and wash it you will find that it is different lengths.
Ben asks Franco about his thoughts on using Beard Oil to apply prior to cutting the beard? In short, the answer is whatever works, Beard Oil is very useful if the beard is really thick and you need to get your hands through it or comb through it, the oil is excellent for just softening up the beard. Franco recommends using one of the Milkman Beard Brushes prior to cutting the beard in order to soften it further.
We start cutting at the front so that we are aware what the sides are going to be cutting into, you should take the length off first and then follow up with the shaping process. We only take a little bit off the front in order to assist with the shaping however, we cut the sides quite short to begin the tapering process into the beard, this tactic assists to elongate the beard. Franco suggests keeping the line of the beard lower on the side so as to not limit the fullness appearance of the beard.
Clipper over comb keeps the style more natural and you can get a better shape as a result. We taper the beard on the face in order to avoid too many harsh lines which poorly shape the face. We can also use the clippers to trim any stray hairs at the front of the beard.
We part the beard and guide it around the mouth in order to maintain as much length as possible while styling it while also attempting to keep any stray hairs from interfering with the mouth. Again we use the clippers to taper the moustache so that it flows well into the beard. The moustache is key to focus on with length as it needs to be in sync with the beard otherwise it looks strange. We can use the Mo-Stick at the end to really demonstrate how the moustache flows into the beard.
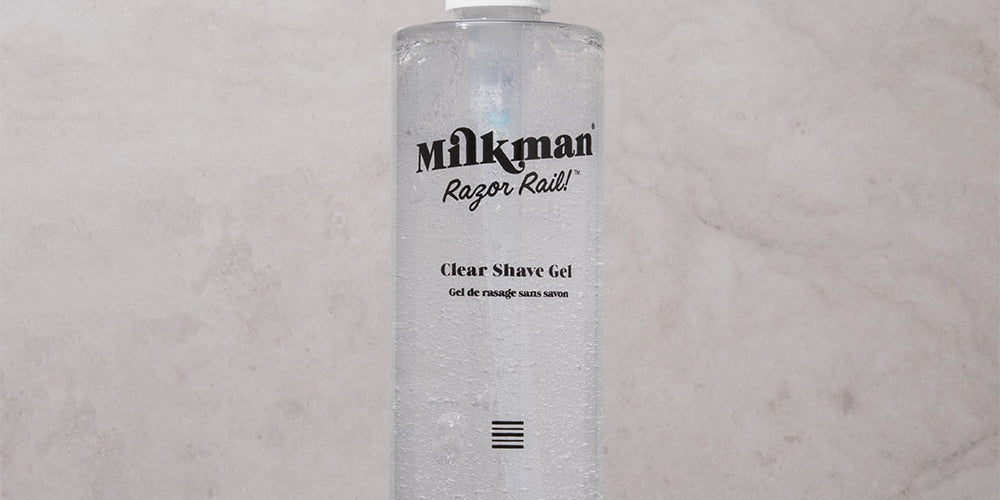
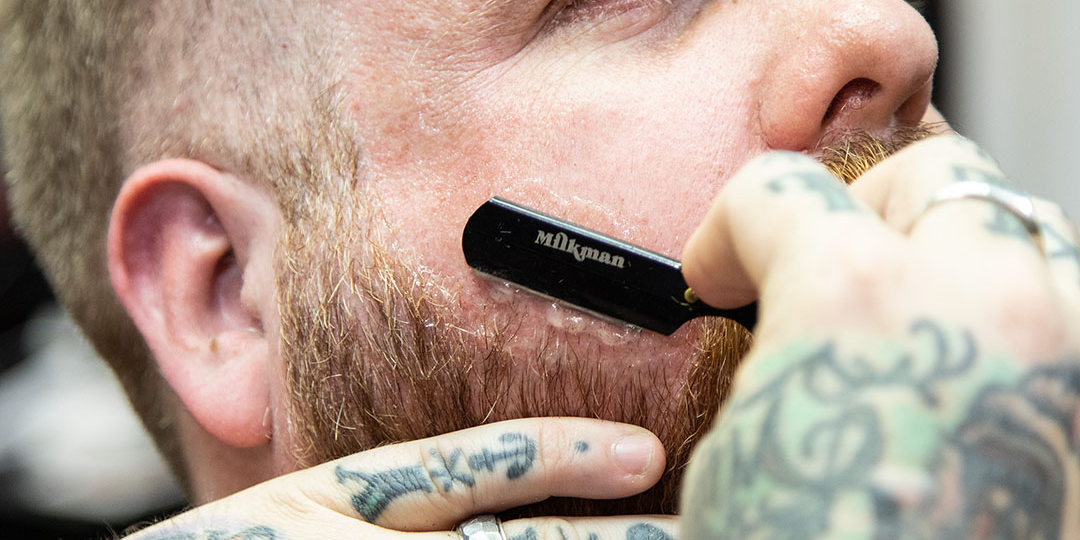
We lean the chair back in order to examine the underside of the beard - this illuminates the line being too high in corners and a little bit uneven around the chin. The more weight that is under the chin the better the shape of beard you will have. The Clear Shave Gel assists in crafting a neat and straight line - it is really useful because the clear element allows you to see what you are doing while your cut. Always start in the middle to achieve and even straight line, you can assist this process by holding the neck tight. The Clear Shave Gel assists cutting little hairs, with Franco describing it as like using a hot knife through butter. Again we can use the Gel on the top of the beard to achieve a natural line up towards the ears, the resulting clear lines will make it much easier to manage a beard from home.
Using a fair amount of the Beard Balm (which you can melt down in the palm of your hand - heat making application easier), run it throughout the beard to really start to manipulate the hair, hiding any strays. Manipulating the sides with the Balm can hide any lacking length or possible thickness from view. The Mo-Stick is just that little bit stronger than the Beard Balm, it assures the shape of the moustache and keeping any stray hairs away from the mouth. Running a comb through following the application of the Mo-Stick assists with the creation and maintenance of shape.
The lines on the cheek were way too low before - so we have used the re-growth to create a new line which will meet the middle of the mouth, the beard slowly tapers down to the fullness at the bottom which is exemplified by the neat line on the neck.
So that’s it guys - I hope you enjoyed this post. In the next one we will be joined by another Award Winning Barber, Rex from the Garage Barber Shop in Queensland, he will be showing us one of the hottest looks for 2019. We will see you then!
1. Facial hair styles - How to achieve and maintain them
2. The importance of trimming your beard
3. How to deal with beard itch
4. How to trim sculpt and shape your beard
5. Top 5 dishes every guy should know
6. Optimise your daily potential