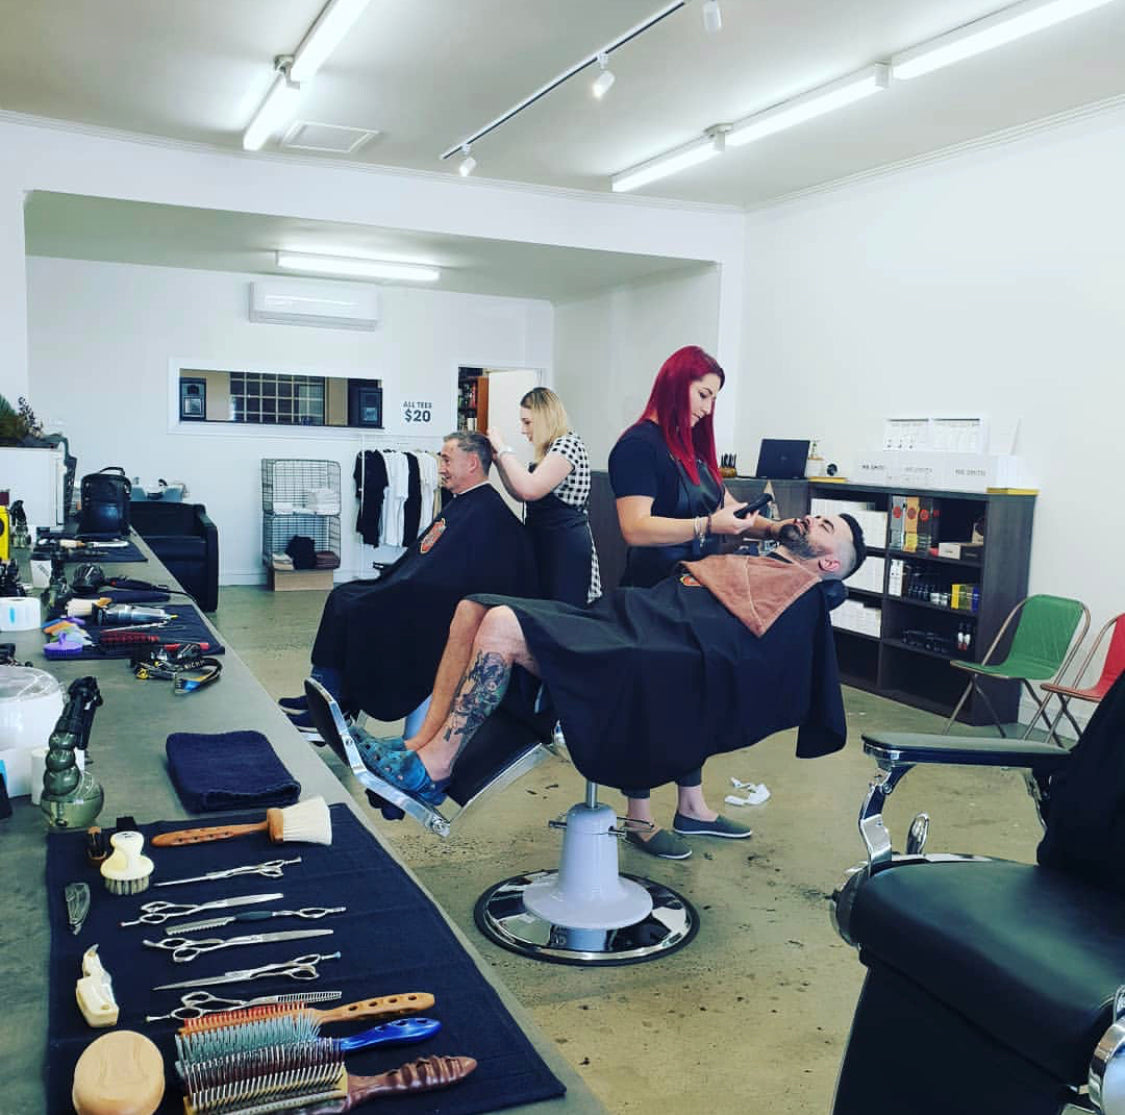


Hi Guys! I’m Jess Smoothy, I manage the Barber Shops in Bundaberg and I am going to talk you thru a beard trim video we filmed at the headquarters of Milkman Grooming. Here is the video, if you want to watch it in full:
First, I use the pear-wood comb to brush through the beard quickly, the beauty of this product is that it absorbs the products following a styling and will then slightly place traces within the beard as you brush it. You should be brushing your beard at least daily, and this comb is useful as it doesn’t rip or shred any of the beard hairs out, indirectly you save on product as it is in the comb itself.
I’m going to crisp up his beard lines and get rid of any frizziness in the bulk of the beard, assisting in the development of a sleek beard structure. Additionally, on the side profile we will trim the bottom of the beard to maintain a straight length across the beard. We will re-establish some nice sharp angles and clean up the lip area (using the Mo-Stick). Visually combing the beard through allows for the development of a more full appearance, less ‘rugged’ and messy.
In this video I will educate you on what products to use and when to use them!
Going in with the clippers we can start at the top of the ear to trim the edges of the hairline to achieve a sleeker look, starting in this location provides a good foundation for the rest of the beard trim. Lots of men struggle with maintaining a clean line below the ear as they themselves can’t see it or easily trim it.
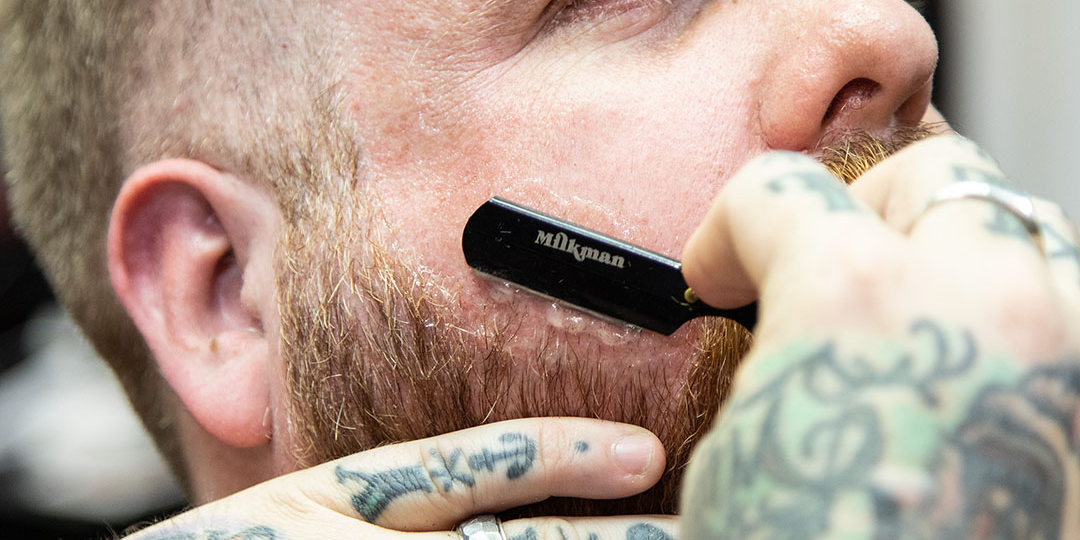
Choosing the line below the beard depends upon the individual, some men will suit a higher curved line while others suit a lower line allowing a fuller look. On our model Jules, his facial structure suits quite a sharp, crisp beard. Top Tip: Don’t ever rush your beards! Be slow and careful with them as they take quite a while to grow out if the cut is wrong. Customers don’t want big chunks out of their beard. Just remember that following using the clippers you will sleek the look up with the Cut Throat Razor, ensuring distinct lines.
We just want to take a little bit out from underneath, enough to maintain a sleek look but not too much to risk loosing the ‘full’ appearance of the beard. Make sure that the line underneath is clean. Using clippers, we approach from the side to crisp the bottom line of the beard. We use the comb once more to move around the hairs making sure any strays are at a similar length to the rest of the beard.
When deciding on the shape of the beard, I always ask the customer what they like and why. Then I assess their facial hair & structure to determine a plan. In this case, Jules wanted his beard to be long and tapered to elongate his face. To help achieve this, I shaped the beard with a slight point. This style is “angled with a bit of a square base”, giving her the opportunity to produce some sharp angles up the sides of the beard.
With the sides of the beard Jules desires a less ‘fluffy’ look so I tapered the top of the beard downwards to remove this issue and contribute to the sleek overall look.
Start cutting the angle from the bottom so you can work the fade backwards, the straight edge of the clippers assists with a clean cut. The way Jules’ beard is growing is a little uneven, approaching the beard from the front can even it up slightly (taking very small amounts off to keep overall length in the beard). Tilting the barber chair backwards assists with the access to below the beard ensuring an even and clean cut without taking too much hair off.
Where you angle the clippers downwards to structure the beard and meet the neck conveys the right spot to place the squaring of the line of the beard, from there ensure the line is even around the neck.
We finish cleaning up the beard by taking the clippers over the top in order to remove any stray hairs, we do this with freehand, just keeping the clippers steady over the stray hairs of the beard. In order to elongate the look you don’t want to round the bottom of the beard, instead keep it sharp to maintain proper length in the beard.
Jules comments on the annoying nature of moustache hair that curls into the lip so I clippered stray hairs off the lip, following it with the Milkman Mo-stick to keep the hairs in proper place. The Mo-Stick can be kept in your pocket and even used just before you eat to keep all the hair out of the way!
We then move to the upper line of the beard with a razor to compliment the sleek lower line of the beard. You can see a much crisper line once strays have been removed from the upper line. If the beard is too thick for the cut throat razor use the clippers to thin it before cutting it properly with the razor.
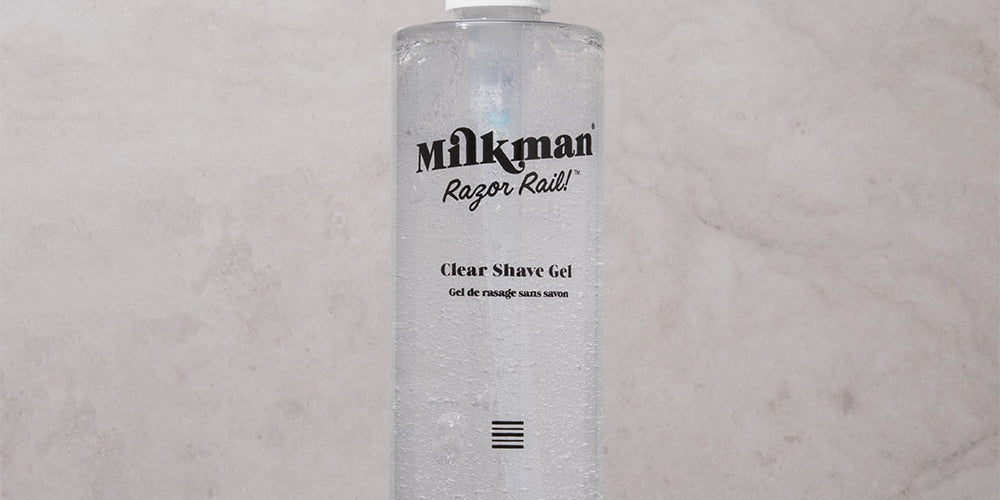
To lubricate for the shave, I use Milkman Razor Rail Shave Oil, with their Clear Shave Gel. The oil on the face not only assists with anti-ageing processes (bonus!) but the aroma therapy provided can be long lasting for the beard which adds elements of style for the individual. Mixing the oil with the Clear Shave Gel with a heated barber brush allows for an easier application to the face. The use of this combination allows for a really clean cut/shave, exaggerating the lines.
Using the Milkman 2-in-1 Shampoo and Conditioner assists with the reduction of the wiry nature of the beard. Jessie recommends approximately three pumps of the product to be rubbed between the hands and then throughout the beard. It acts almost like a fabric softener for the beard. I use my fingertips to get the product right into the base of the beard promoting further growth of the hair. For after care, I recommend using this product approximately three times a week, either in the shower or even just a simple dry application.
We can use Beard Oil to lock in the moisture of the 2-in-1 into the beard, using approximately three-quarters of a dropper we place the oil throughout the beard ensuring it reaches the base. The oil is really hydrating for any guys that tend to get ‘flakiness’ or ‘beardruff’/itchiness. Any patchy areas will be stimulated to grow slightly more by the Beard Oil.
Shaping of the beard is made easier with the use of Beard Balm and the comb, holding things in the right place has never been easier! Warming the Beard Candy up in the hands allows for an easier application throughout the beard, keeping any flyaways off the face. I then use the Mo-Stick across the moustache, following with fingers to massage the product into place. The Mo-Stick successfully clears the lip line of strays as well as hairs which may be growing upward into the nose.
Placing model Jules upright allows for continued styling of the beard into proper shape. Using the pear-wood comb we manipulate the hairs where we want them to stay. Then we result with a sleek, structured beard!
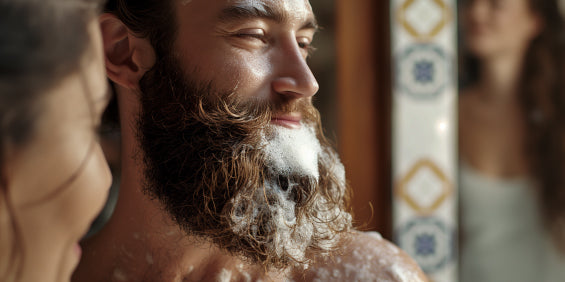
The before and after photos show the amazing transformation, resulting in a sleek look with a healthy appearance to the beard.

Jules before the beard trim

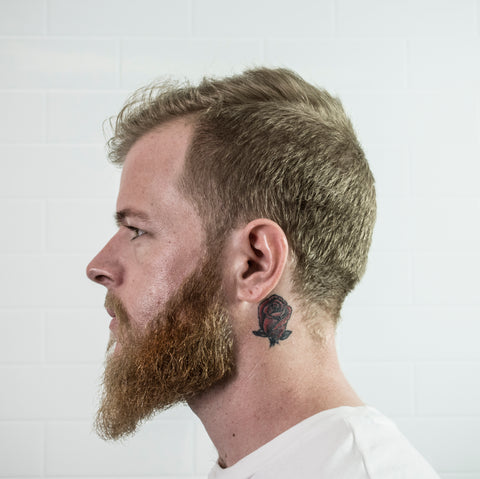
Jules after the beard trim
Other articles that might interest you:
2. Recent Trends in Beard Maintenance & Skin Care
3. How to Straighten your Beard
4. The Importance of Trimming your Beard
5. How to Deal with Beard Itch
6. The Difference Between Head Hair & Beard Hair
Or visit our BLOG ARCHIVE